Instructions how to convert an Asustor AS7004T into an Ubuntu Server
First published November 22, 2025 • Last modified on July 26, 2026 • 4 min read • 751 words
This weekend, I upgraded our old Asustor AS7004T NAS to run an Ubuntu 24.04 server. The ADM OS had not been received any updates anymore for more than a year and it had been switched off and sitting on shelf since. This is a shame because there was absolutely nothing wrong with it. I had early on upgraded the original 2 GB memory of the device with an 8 GB module to a total of 10 GB. But you can run an Ubuntu server on 2 GB if you wanted to… What do you need for the conversion? Obviously, you need to plug in a USB-keyboard and a mouse. Apple USB keyboards do not work. The cheaper the keyboard the better. Sometimes there were problems with the mouse and then it helped to plug it into another USB port. And of course you need to connect the NAS to a monitor via an HDMI cable. I recommend to install Ubuntu Server 24.04.3. Ubuntu Desktop 24.03 also works (I tested it), but I don’t need it and the server has a much smaller footprint. Unlike with older Asustor NAS devices and distributions, fan control worked without problems. However, LED control and display info do not work: The display always shows “Starting system. Please wait…”.
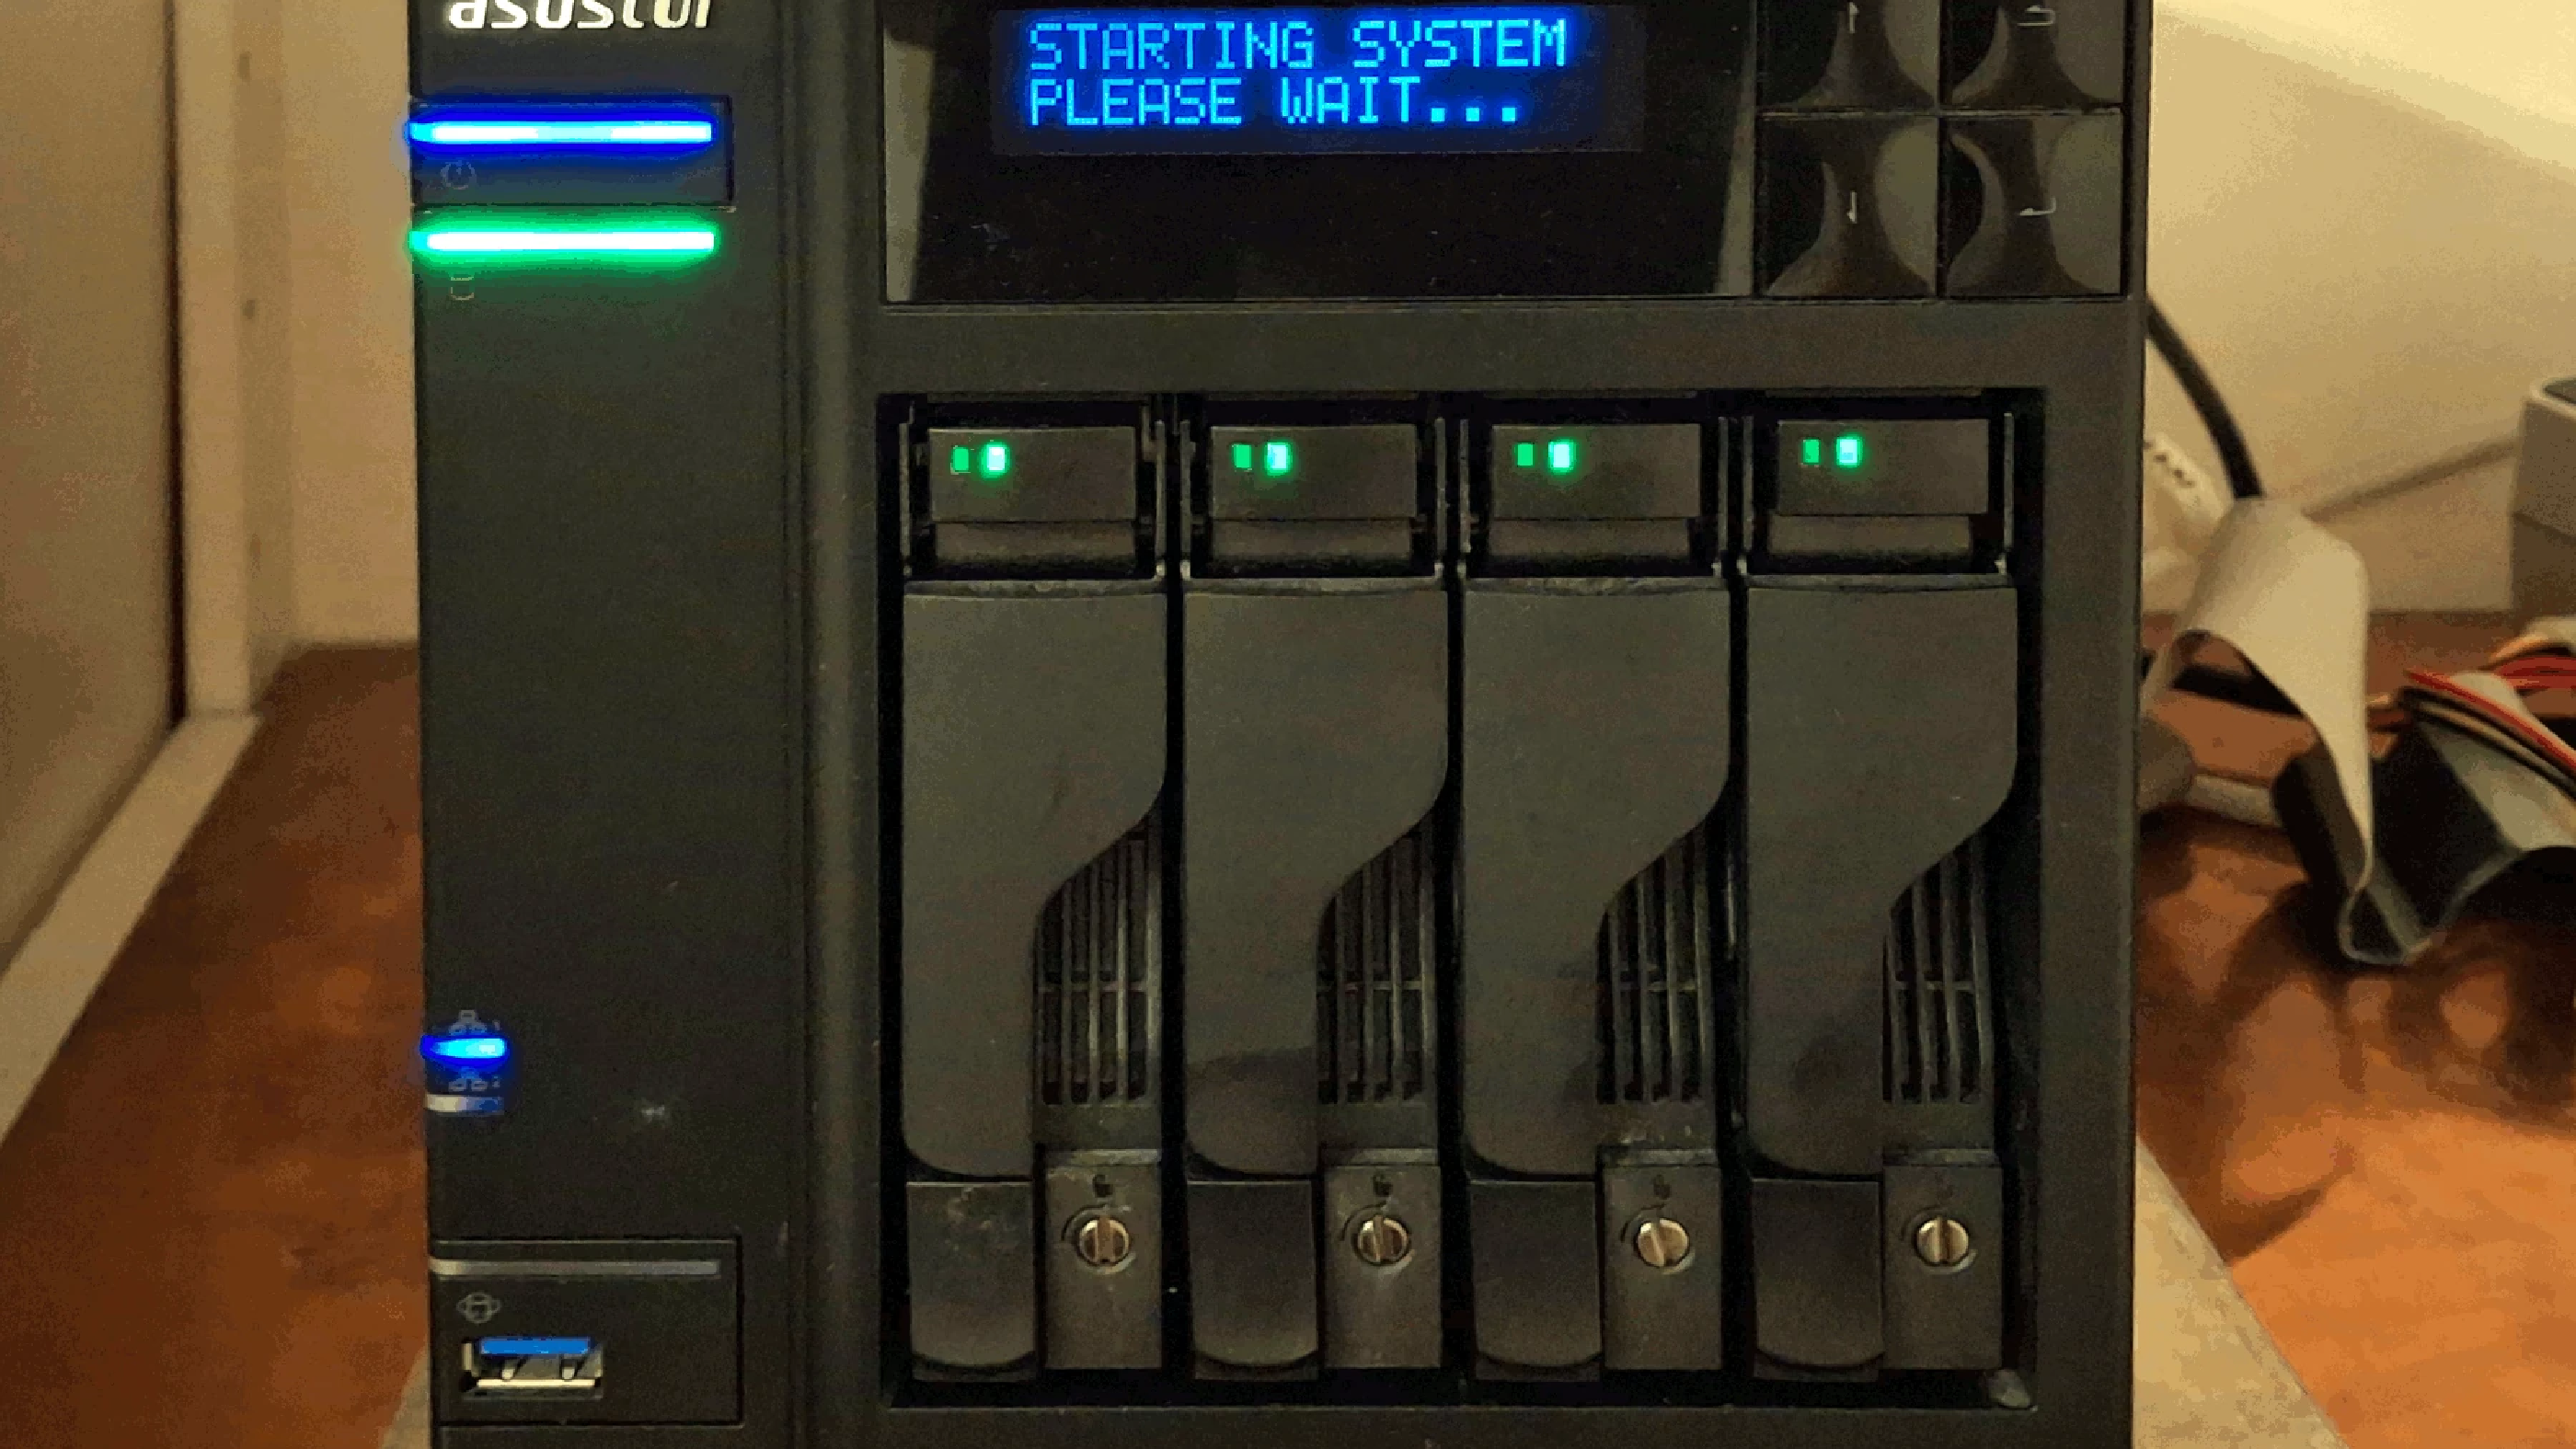
The original Raid is recognized by Ubuntu; you can mount it by simply clicking on it from the live Ubuntu desktop. But since there is no possibility to add an m2.NVMe drive to host the new Ubuntu OS, you need to sacrifice one of the four HDs. Here are some images of the hardware: https://www.smallnetbuilder.com/nas/nas-reviews/asustor-as7004t-nas-reviewed . Here are the steps to complete the conversion. I am assuming you know how to make a USB-stick with the installer and how to install Ubuntu.
- Create an installation USB (preferably USB3) for Ubuntu 24.04.3 and plug it into one of the (blue) USB3 ports at the back of the NAS.
- Turn on the NAS and press the F2 button repeatedly every second or so once you see anything appearing on the screen.
- You are now entering the BIOS, where you can modify the boot order. On my device, I did not need to change anything as all USB devices had priority over the internal devices.
- After rebooting the system, press the F11 button repeatedly to enter the EFI/UEFI shell. There is no graphical boot device selection, but you can issue commands to get the job done: You need to find the USB drive’s mapping (in my case it was “fs1”, could be alternatively “fs0”). The command is “map”, but if you have four drives, the USB entries at the top of the list will scroll so quickly out of view that you won’t be able to see anything. One way to fix this is to physically eject three of them before you boot.
- Change into the USB drive’s root directory: “fs1:”
- Navigate to the bootloader directory: “cd EFI”, “cd BOOT”
- If you are in the correct directory, you should see several files. The bootloader is called “bootx64.efi”. There also should be a grub file…
- Execute the bootloader: “bootx64.efi”.
- Now your NAS should boot into the Ubuntu installer.
- It’s important to install an ssh server, so that you can login remotely once you have removed screen, keyboard and mouse.
- When the installer gets to the partitioning step, it did suggest to use one of the HDs as the installation target. I nevertheless went into manual partitioning to make sure that the EMMC drive is not touched. Once you format it, there is no going back to the original OS (Asustor’s ASM). I removed all 4 HDs from being used in the RAID and chose one of them as root. It will get two partitions: /boot and /)
- After the installation, remove the USB and reboot when the installer tells you to do so
- Your NAS should boot into Ubuntu; if you have issues check again that you go the boot priority in the BIOS correct.
One strange thing was that I could not shut down the device. It turned out to be the wake-on-lan (WOL) feature. Even the aggressive “sudo poweroff -f” only resulted in a reboot. You can figure out whether WOL is the problem:
sudo ethtool enp3s0 | grep "Wake-on"
Supports Wake-on: g
Wake-on: g
mjeltsch@ubunas:~$ sudo ethtool -s enp3s0 wol d
mjeltsch@ubunas:~$ sudo ethtool enp3s0 | grep "Wake-on"
Supports Wake-on: g
Wake-on: d
mjeltsch@ubunas:~$ sudo poweroff -f