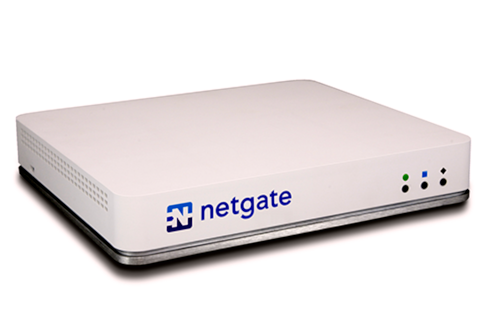
PXE-booting from Netgate Pfsense SG-3100

To install Linux without the need of a CD/DVD/USB-stick, I now use PXE-booting ("pixie"-booting) on our local home network. I could not find good instructions and had to try out things before it started working, but the process itself is fairly simple. Here are the steps:
- Install the tftpd server from via System > Package Manager
- Modify the DHCP server (Services > DHCP Server):
TFTP Server: 192.168.1.1 (internal network address of the pfsense router)
Check "Enables network booting"
Next Server: 192.168.1.1
Default BIOS file name, UEFI 32 bit file name and UEFI 64 bit file name: pxelinux.0 - Now you can upload the content of http://archive.ubuntu.com/ubuntu/dists/bionic/main/installer-amd64/curre... into the /tftpboot directory (note that when you use scp, you won't be able to login as admin, but instead you must use "root" ad the login name; this illogical behaviour costs probably worldwide many hundreds of hours wasted admin time).
- As expected, it did not work out of the box. The client gets the boot instructions but cannot connect to the TFTP server:
[...]

CLIENT IP: 192.168.1.86  MASK: 255.255.255.0  DHCP IP: 192.168.1.1

GATEWAY IP: 192.168.1.1

PXE-E32. TFTP open timeout

PXE-M0F: Exiting Intel Boot Agent
First, I thought that a firewall was blocking the access to port 69, but that was not the case. However, it was difficult to sort these things out since the pfsense reports only "port filtered" when the port is scanned:
nmap -p 69 192.168.1.1

Starting Nmap 7.60 ( https://nmap.org ) at 2019-11-02 10:39 EET

Nmap scan report for pfsense.localdomain (192.168.1.1)

Host is up (0.00033s latency).

PORT   STATE    SERVICE

69/tcp filtered tftp

Nmap done: 1 IP address (1 host up) scanned in 0.26 seconds
- For some strange reason, clicking the "Enables network booting" did not enable network booting. Most notably, the tftp server is not started! Hence, you need to go to "Services > TFTP Server" and check the "Check to enable the TFTP service" box and to enter 192.168.1.1 into the "TFTP Server Bind IP" field. pfsense is a great thing, but the UI is not at all consistent: Sometimes things are done for you in the background without notifying you (e.g. in the NAT configuration), but sometimes it leaves you in the dark on whether it does some necessary autoconfiguration like in this case ....
- The next problem was that it could not find necessary files:
[...]This appears to be a bug with the location of the file in the Ubuntu network booting directory structure. You just need to copy the file ldlinux.c32 from /tftpboot/ubuntu-installer/amd64/boot-screens/ldlinux.c32 to /tftpboot/ldlinux.c32
Failed to load ldlinux.c32
Boot failed: press a key to retry, or wait for reset...
- The next problem was self-made. I had downloaded the ubuntu-netboot directory with recursive wget and, for some reason, wget had truncated all filenames in the boot-screens directory to 8 characters, and I had uploaded the directory without checking.
Failed to load COM32 file ubuntu-installer/amd64/boot-screens/vesamenu.c32After fixing this, I was finally able to start the network installer.


